Did you know that adding a little extra detail, like decorative trim, within your space can have a big impact on the entire design? It’s true! Simply incorporating trim not only rounds out a room’s design and decor, but it also adds an abundance of personality. Today we’re going to talk about trim and how it can turn the ordinary into the extraordinary.
Just What Do I Mean By Trim?
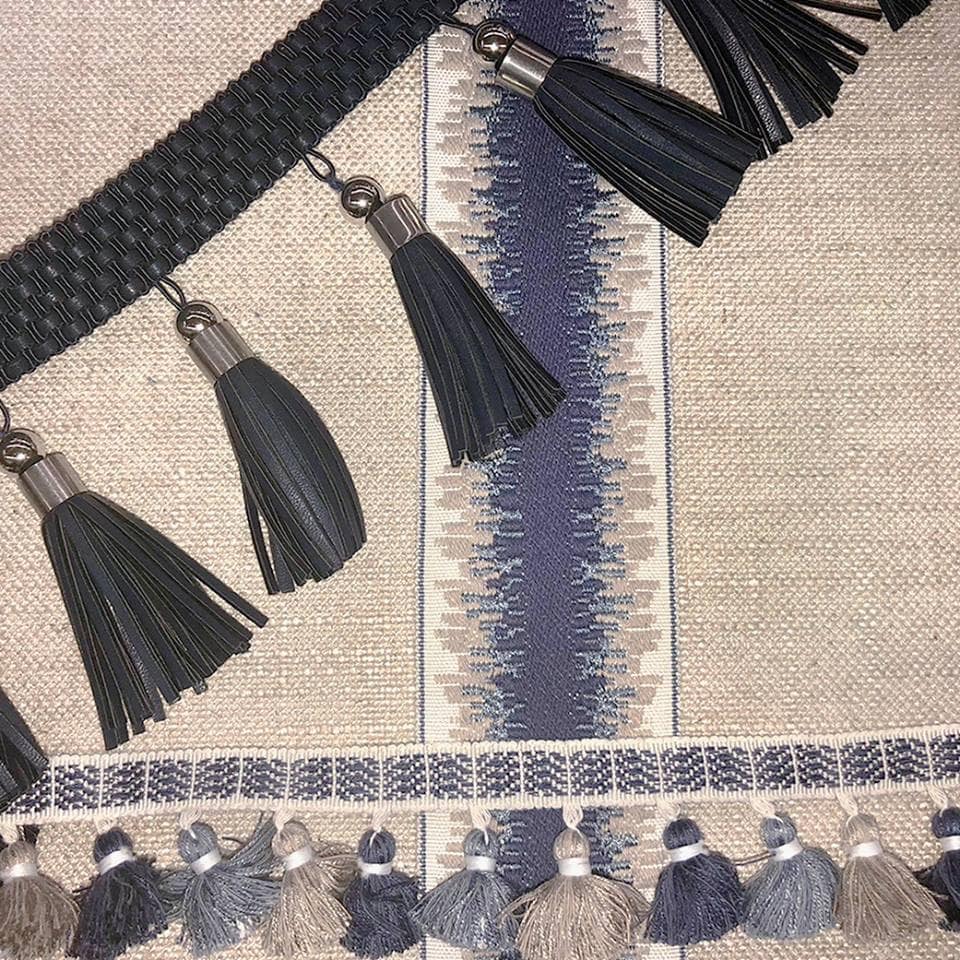
When we talk about trim in the fabric world, we mean those finishing touches that include tassels, pom-poms, fringe, piping (cording), decorative tape trim, and nail heads. These little embellishments go a long way and can provide beautiful textures–especially in neutral or monochromatic spaces. Even if your home’s environment is one full of color, trimmings can still push the look of your interior to new heights.
Decorating with Trim
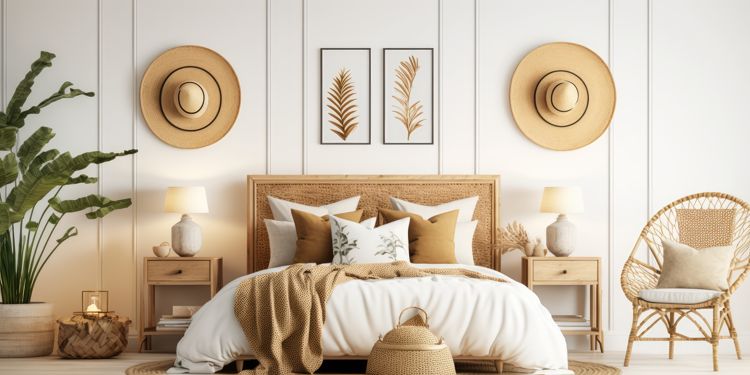
Decorative trim can complete the look of so many things in your home: pillows, lampshades, ottomans, chairs, sofas, duvets, window treatments, headboards and much more.
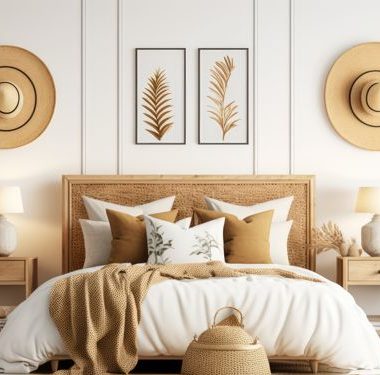
- Add a bit of whimsy to an overly sophisticated bedroom, or make kids bedding even more fun by putting pom-poms on some decorative pillows (note: in places with a lot of pillows don’t get overzealous–adding trim to one or two is enough)
- Make a lampshade shine even brighter by decking it out with some beaded fringe
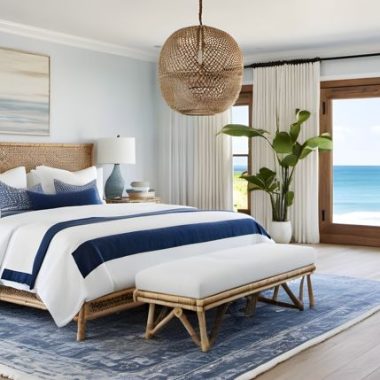
- Cover a headboard in fabric and then use nailhead trim to make it the focal point of the room
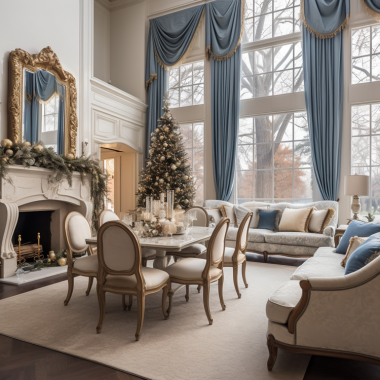
- Tie back drapery with tassels for a boost of sophistication or add mini tassels to the base of Roman shades to give them a customized look
- Sew a small bit of ruffle onto the bottom of a shower curtain to give it a feminine touch
- Enhance the look of your dining table by attaching fringe to a plain table runner
- Use festive braided cord to enhance your seasonal items
- Hang a large tassel on a doorknob to dress up an entryway
- Jazz up a boring bulletin board by gluing decorative ribbon to it in a crisscross pattern
These are just a handful of the many ways trim can be used. Not every item needs extra flair, so it’ll be up to you as to what just can’t live without it. Don’t be afraid to think outside the box for new ways to apply decorative trim to your personal items as mentioned earlier, trim can be used on more than the obvious places.
Adding Trim Can Be Easy (Tutorial)!
Since we recently added to our inventory of decorative tape trim, I’m going to focus on a quick tutorial involving that. If you’re unfamiliar with tape trim, it has a flat, smooth weave and is used to create borders on items such as pillows, slipcovers, draperies, and upholstery. Some tape trim even comes embellished with a fringe of threads or beads, which can really allow you to make an even bigger statement.
For this tutorial, I’m going to focus on adding tape trim to your window treatments–specifically, drapery (or curtain) panels. If there are other items throughout your home that could benefit from this type of trim, these instructions can be used for that as well (you’ll just need to adjust as needed).
What you’ll need to get started:
- Curtain panels in desired style and length
- Between 6 and 8 yards of trim depending on the length of your panels
- Ruler
- Iron on tape
- Iron
- Towel
Step 1: Lay out your curtain panel on a large, flat surface. Using a ruler, figure out where the trim will be placed. A good rule of thumb is to place the trim an inch and a half in from the edge of the drapery panel, which allows the drapery color to be seen on both sides of the trim.
Step 2: Once you know where the trim will be placed, turn the trim over and carefully line it with iron-on tape. If your trim is wide (more than 2 inches or so) you may need to add two strips of iron-on tape (one at each edge of the trim). Narrower trim may only need one strip of iron-on tape down the middle.
Step 3: Carefully turn the trim back over onto the panel (iron-on tape is facing down). Leave an inch of both tape and trim at the end so they can be folded over the edge of the panel.
Step 4: With a very hot iron, carefully apply heat to the trim, working in sections. Be sure not to move the iron back and forth as this could move your trim out of place.
Step 5: After the trim is secured on the front of the panel, turn up the corner of the panel and steam down that excess piece so it creates a finished look.
Step 6: Work along that piece of trim again, going from the top of the panel, down to your first corner. You can create a corner two different ways:
- The first is to create it with two pieces of trim, cutting it and piecing it together to make a corner.
- The other is to create a corner with a single piece of trim that is cut long enough to cover all three edges of the panel.
If you are creating a corner with your trim, fold the trim at a 45-degree angle and then iron the corner down as you did before. Use more tape to help keep any excess trim pinned down.
Step 7: Continue to work your way down the bottom edge of the panel (the hem) until you get to the next corner and then repeat Step 6.
Step 8: Work your way up from the second corner to the top to complete the trim.
That’s it! See how easy it can be to elevate the look of the decor in your home?
Ready to start a project like this? Stop into one of our showrooms to check out our wide selection of tape trim and designer fabrics, that when paired together, can make stunning window treatments.
And don’t forget to check out the other types of trim we carry, which include brush fringe, tassel trim, beaded trim, braided trim, and lip cord. We have something for everyone at amazing prices.