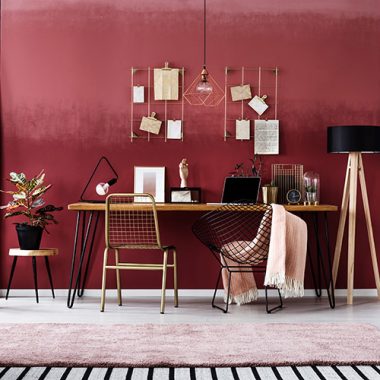
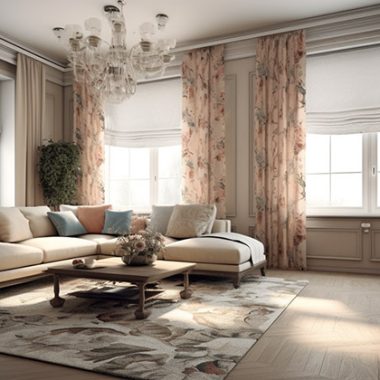
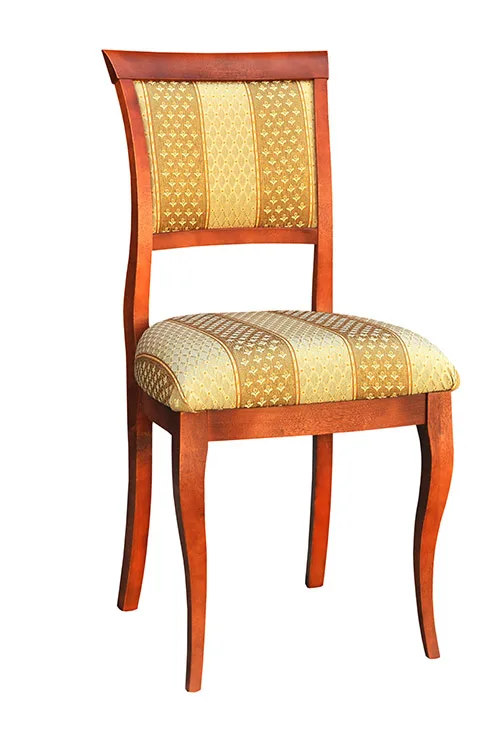
General wear and tear is bound to happen on furniture–especially on items that are located in high-traffic areas of your home. When this happens to pieces like chairs, many people consider pitching them to the curb. This, however, isn’t always the best solution. In many cases, something simple like a chair can be revived with a little TLC.
But why go through all the trouble of reupholstering when I can just go buy something new? you might ask. Well, for a variety of reasons, actually.
You’d be amazed at the transformation a piece of furniture can go through with some new fabric–but that’s not the only reason taking on a project like this can be worth your time and money.
Some other popular reasons people choose to reupholster furniture often include:
- Creative freedom in being able to design a custom piece of furniture for their home
- Opportunity to salvage a family heirloom that may have sentimental value
- Ability to have something unique that can’t be found in a store
- Opportunity to be environmentally friendly, keeping excess waste out of landfills
- It saves money
- Older furniture is better quality furniture
- The old stuff has a comfort that can’t be beat
The bottom line is that reupholstering furniture offers a lot of benefits. Many run-of-the-mill pieces you find at your local furniture stores are very cookie cutter. For variety, it’s nice to have some control over what pieces are displayed in your home. This is when reupholstering really comes in handy–especially if you have a special gem of a piece that’s too good to let go.
When it comes to smaller pieces, such as chairs, reupholstering is a much easier project than you may realize. In fact, when it only requires something like a cushion update, it ends up being a project you can totally do by yourself. Really!
Not only will you improve the chair’s look by recovering the cushion, you’ll save a lot of money as well. Before you know it, you’ll have a classic piece that looks stylish and new. Here are 7 step-by-step instructions on how to reupholster a removable chair cushion.
Step 1: Choose Your Fabric
Often times, the reason homeowners replace a piece of furniture is because the fabric is outdated. Visiting a fabric store like Fabric Resource opens up a world of possibilities when it comes to new choices. There will be multiple fabrics to browse through and speaking with an employee will help you find exactly what you want for your chair.
For one chair cushion, you’ll need approximately 1 to 2 yards of fabric to complete your project. If your chair also has a fabric back, you’ll need to make sure you account for that as well, which will at least double the amount of fabric you need. New to DIY? You may want to err on the side of caution and get a little extra fabric just in case you run into any problems.
Step 2: Remove the Seat (and back if it has one)
For this, you’ll need a screwdriver and either a staple remover or pair of needle-nose pliers. Turn the chair upside down and unscrew the seat. If your chair has a back that needs to be recovered as well remove it, too. Be sure to keep the screws handy for later.
Step 3: Change the Fabric
This can be done in two different ways. The first being to remove the old fabric and the second, to just cover it with the new fabric. There’s really no reason to remove it unless the inner padding needs to be replaced, but if you decide to, be sure to use a staple puller or needle-nose pliers to remove the staples. If you plan to just cover the old fabric, spread out your new fabric, place the seat on top, and then measure 4 to 5 inches beyond the seat on all sides. A piece of chalk works well for marking your lines. After the lines are marked, cut the fabric.
Step 4: Attach the Fabric
Make sure the seat is centered and that the pattern isn’t crooked before attaching it. Fold the fabric up and over the straightest side of the seat and begin to staple. Start with a center staple and then work your way out to the edges. Keep the fabric tight so it doesn’t bunch. Repeat this with the opposite side of the seat, pulling the fabric firmly. If you make any mistakes, pull the staples and start over. Once those two sides are done, wrap the fabric around the remaining two.
Step 5: Pleat the Corners
Take the corner of the fabric and point it towards the center of the seat along the diagonal. Fold one side down alongside the diagonal and then fold the other side so you have a nice, straight pleat. Once you have it like you want it, staple it in place. Continue this for the remaining three corners.
Step 6: Apply the Finishing Touches
Now it’s time to wrap the project up. Trim any excess fabric, hammer in staples that aren’t flush and stain protect your seat.
Step 7: Reattach Seat
Now that you’re done, return the seat to the chair. Screw it back into place and enjoy your beautiful new chair(s).
Don’t have a piece to reupholster but like the idea of having a custom piece for your home? We can help! We carry a wide range of designer fabrics at discount, wholesale prices to save you money without sacrificing quality. But that’s not all! We also carry a variety of chairs to choose from that work with any design style. Stop by a showroom so we can personally help you with your selections or browse our products online from the convenience of your home.