Professional Finishing Touches
Small details separate custom-looking drapes from obvious DIY projects:
-
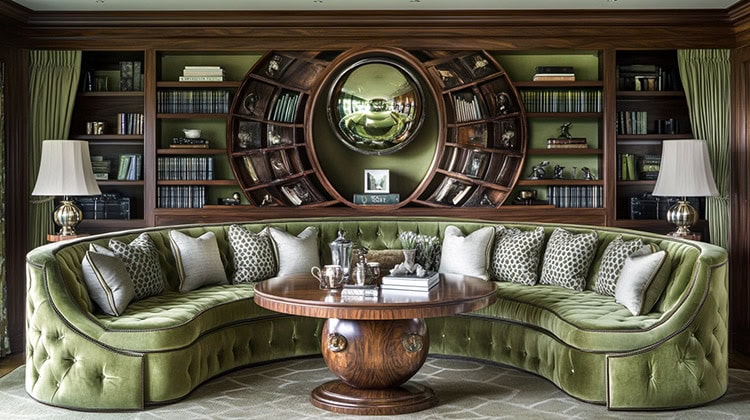
Hardware Selection – Choose curtain rods that complement your room’s style and are rated for the fabric’s weight. Metal, acrylic, and stained-wood poles each send a different design message; oversized or faceted finials can echo shapes found elsewhere in the room. Add matching rings for a boutique look and coordinating tiebacks so you can sculpt the folds during the day without creasing the fabric.
-
Trim & Details – Welting, bullion fringe, or a simple band of contrast fabric instantly elevates plain panels. Place the accent 4–6 inches from the leading edge for a designer proportion, or run a band along the bottom hem to visually “ground” tall windows.
-
Proper Hemming – Aim for a 4-inch double-fold hem secured with blind stitches; slip a discreet drapery weight into each corner so the fabric hangs perfectly straight. A puckered or uneven hem is the first thing professionals notice.
-
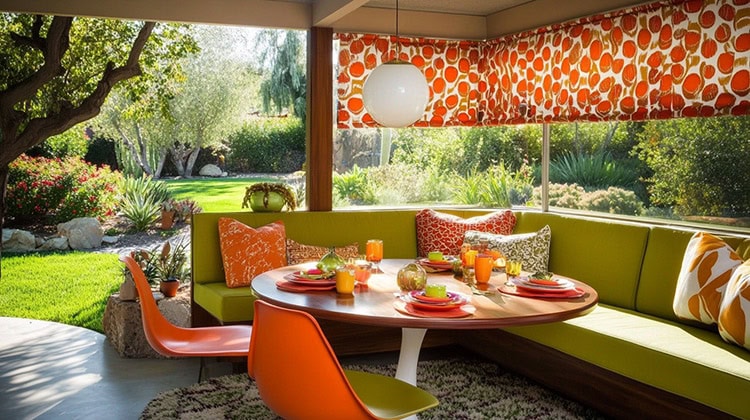
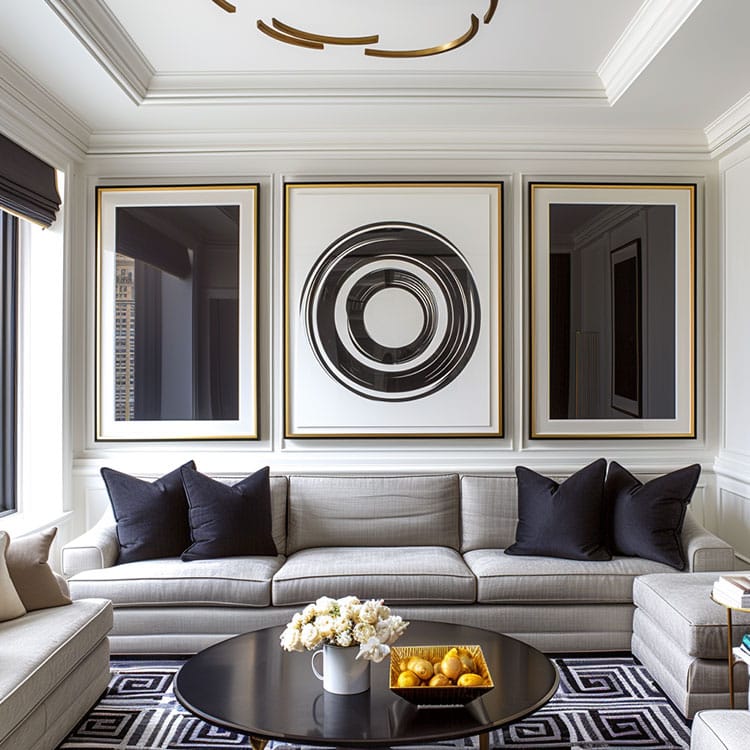
Coordinated Elements – Reference a color from your rug or artwork, then repeat it in the trim, pillows, or a throw across the sofa. That deliberate echo is what makes the treatment feel professionally planned, not accidental.
Installation & Styling
Precise installation ensures your beautiful drapes perform as intended. Use a level and sturdy wall anchors, especially for heavy velvet or blackout-lined panels. Steam or dress the folds after hanging so each pleat breaks at the same point. Decide early between:
-
Stationary Panels – purely decorative, ideal for picture windows; mount rods wider than the frame so glass remains unobstructed.
-
Functional Panels – open and close daily; choose glides or rings that move smoothly and withstand traffic.
If the room’s layout funnels kids or pets near the window, opt for machine-washable fabric and streamlined hardware that won’t snag.
Fabric & Lining Fundamentals
Pick the Right Base Cloth
Great drapery starts with the fabric itself. Determine first how you need the fabric to perform—sheer for filtered daylight, mid-weight for everyday privacy, or heavyweight for maximum light block and insulation. Natural fibers such as linen or cotton blends drape softly and suit casual spaces, while velvets, damasks, and silks deliver formal drama. Remember: large-scale patterns and bold colors become a focal point, so sample a full repeat before you commit.
Never Skip Lining (or Interlining)
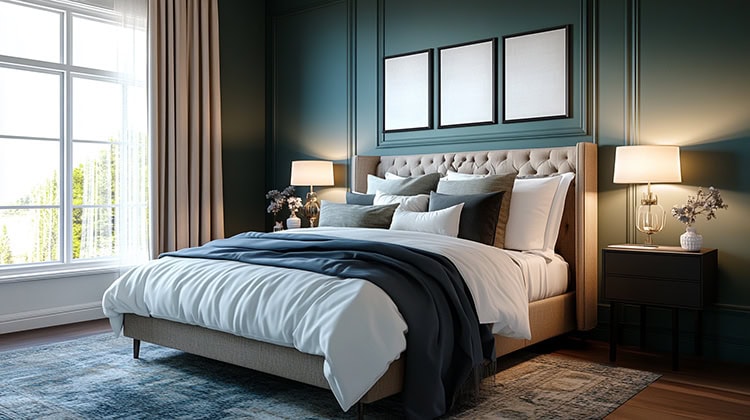
A quality lining protects the face fabric from sun-fade, hides seam allowances, and makes pleats fall crisply. Interlining—a flannel-like layer stitched between face fabric and lining—adds extra body and insulation, ideal for drafty windows or luxe silks that need structure. Blackout linings are perfect for bedrooms, nurseries, or media rooms where darkness on demand matters.
Match Pattern Repeats Meticulously
If you choose stripes, plaids, or prints, precise repeat matching at the seams is what distinguishes a workroom-grade panel from a quick DIY. Plan enough yardage (often one extra repeat per width) so motifs flow uninterrupted across multiple panels.
Light Control & Energy Efficiency
Well-designed draperies do far more than look pretty—they’re an active part of your home’s comfort strategy:
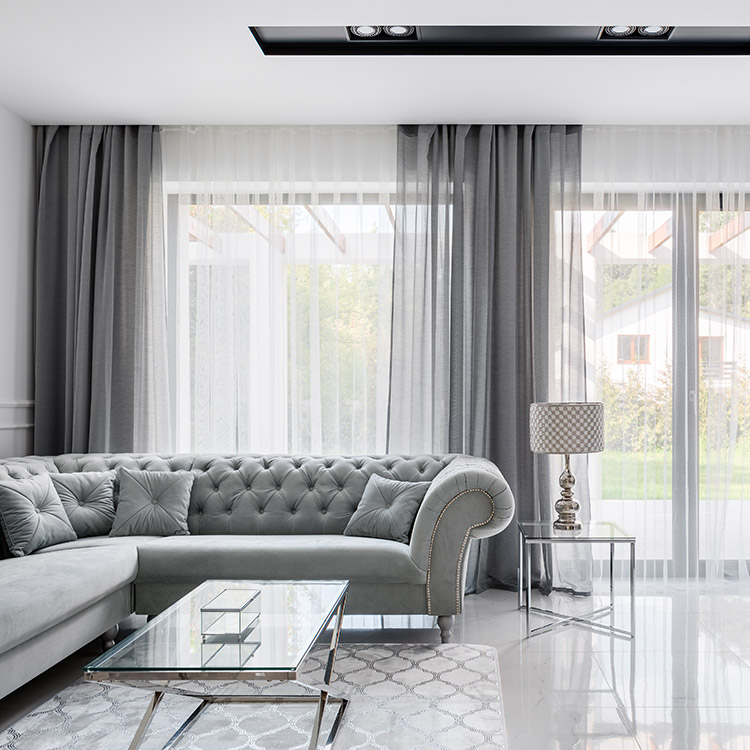
-
Layered Solutions – Think of each layer as a different lighting “gear.” Decorative side panels frame the window, while an inner roller, Roman, or cellular shade handles the heavy lifting: morning glare, midday heat, and nighttime privacy. Choose translucent sunscreen fabric for daytime views or a room-darkening cloth for bedrooms. Add a low-profile motorized track or shade motor that syncs with voice assistants or sunlight sensors, so you can raise and lower everything without touching a cord.
-
Thermal Gains – A face fabric backed by interlining and quality lining creates a three-layer barrier that traps air, functioning like a quilt over the glass. In winter this can reduce conductive heat loss by up to 25 percent, and in summer it blocks solar gain that fades floors and overheats rooms. For maximum benefit, make sure panels overlap the frame by at least 3 inches on each side and “kiss” the floor to seal drafts.
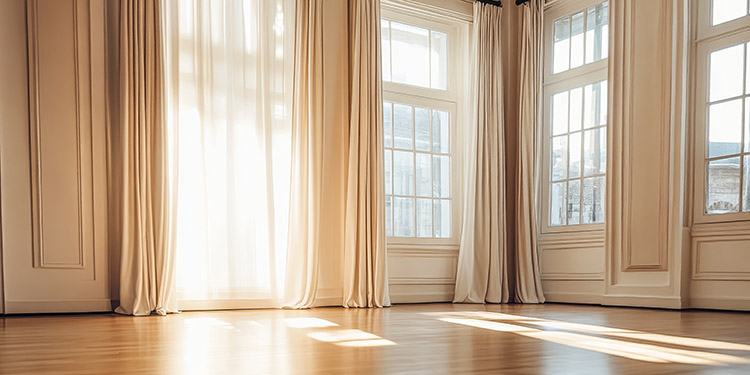
-
Mounting Height – Hanging rods 4–6 inches above the window—or tight to the crown molding on low ceilings—draws the eye upward and instantly makes the room feel taller. Extending rods 8–10 inches beyond the window’s width lets panels stack fully off the glass when open, maximizing daylight and view while minimizing top-edge and side-edge light leaks when closed.
Care, Cleaning & Longevity
-
Routine Dusting – Vacuum monthly with a soft brush to keep fibers fresh.
-
Prompt Spot-Treating – Blot (never rub) spills; always test cleaners on a hidden seam.
-
Professional Cleaning – Schedule drapery-specialist service every 12–18 months, especially for silks and blends that water-spot.
-
Panel Rotation – Swap left and right panels each season so any gradual fading stays symmetrical. Off-season, store in breathable cotton bags—never plastic—to prevent mildew.
Bringing It All Together
Ready to transform your windows? Bring photos or paint chips to any of our showrooms. Our team will:
-
Confirm your measurements.
-
Calculate exact yardage—no costly mis-cuts.
-
Match hardware to your fabric weight and ceiling height.
Let’s turn your draperies into the room’s showpiece—without paying designer mark-ups.